This blog is only providing the information needed to replace the WAP/ADFS servers with new servers running 2019. This article is not providing any information on upgrading the farm behavior level.
Always do this in a test environment before affecting Production
Mircosoft ADFS requirements link: https://learn.microsoft.com/en-us/windows-server/identity/ad-fs/overview/ad-fs-requirements
WAP Server Replacement:
Use whatever mechanisms you have through your load-balancing infrastructure to drain one of the WAP servers so nobody is accessing it.
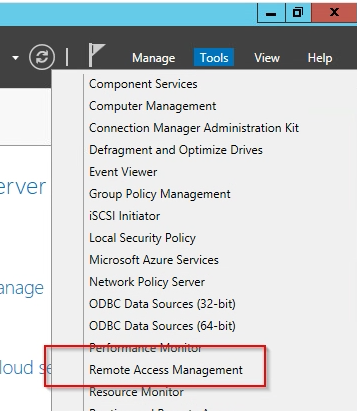
In Server Manager launch “Remote Access Management”
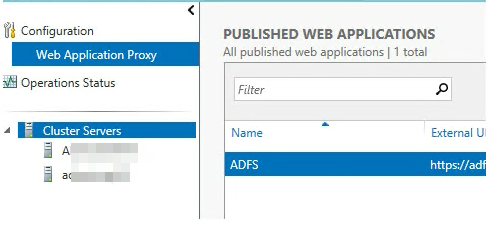
Verify you see the number of Clustered WAPs servers you should here.
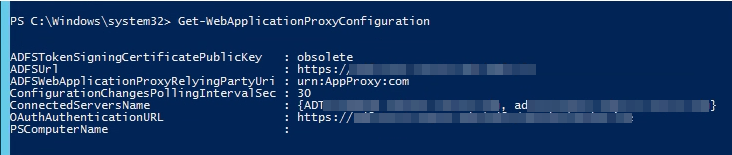
You can also verify this with PowerShell by running the following command in an Administrative Powershell: Get-WebApplicationProxyConfiguration.
Look at the “ConnectedServersName” field, here I have two.
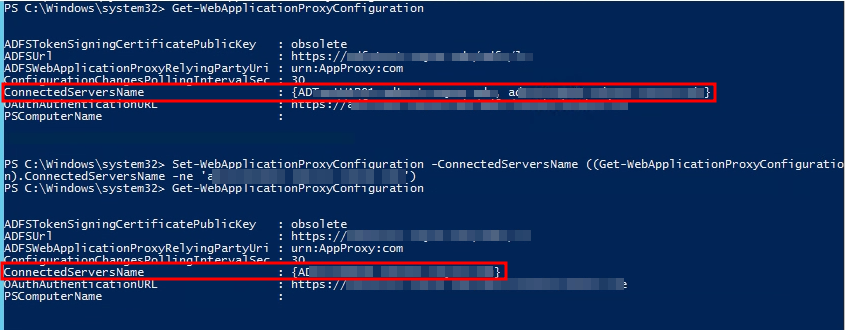
Remove the box that you are currently logged into from the ConnectedServersName property object by running the following PowerShell:
Set-WebApplicationProxyConfiguration -ConnectedServersName ((Get-WebApplicationProxyConfiguration).ConnectedServersName -ne ‘servername.domain.suffix’)
[-ne means not equal, you want to put the server you want to remove in place of ‘servername.domain.suffix’]
You can then verify by running Get-WebApplicationProxyConfiguration again and see that the server has disappeared.
I only have two WAPs so at this point both nodes are still servicing requests but only one node is left in the settings. You can now shutdown the node you removed and bring up a new 2019 server with the same name/IP and bind into the already existing AD Object.
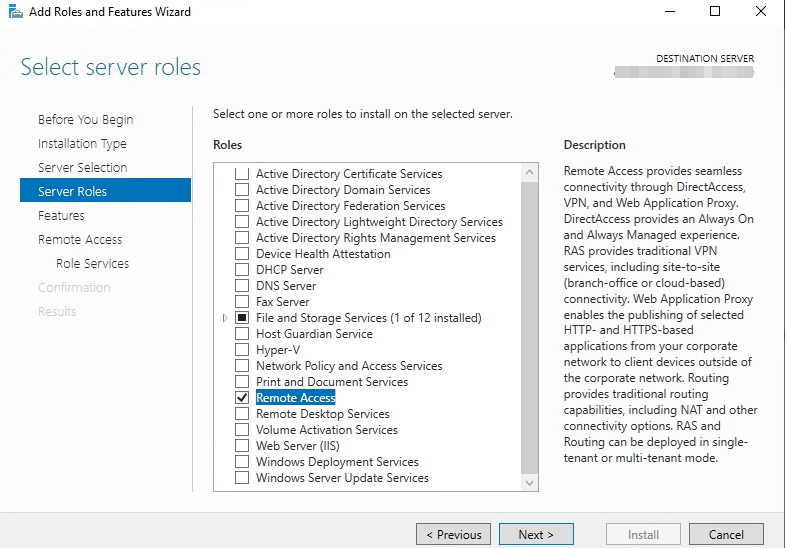
Once this box is up login with a Domain Admin account and Add Roles/Features and add the “Remote Access” Server Role
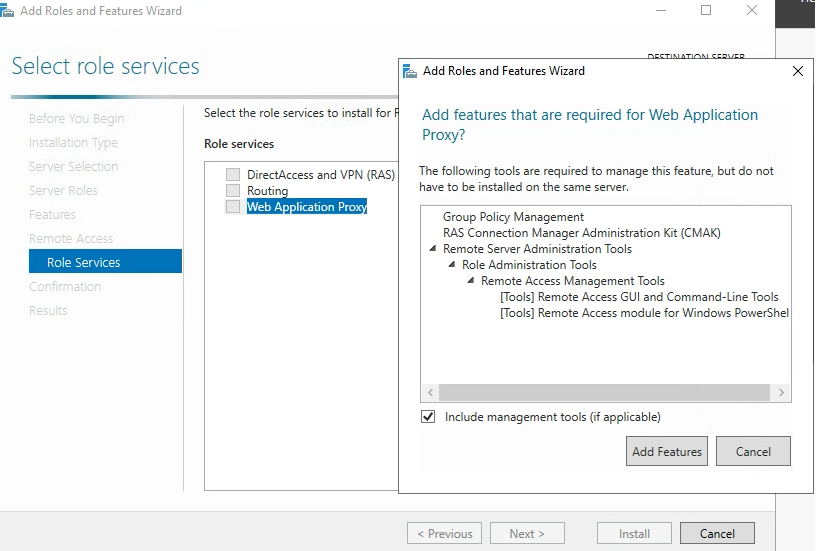
Choose “Web Application Proxy” on the Role Services tab. You may be prompted to accept installing additional features, go ahead and click Add Features.
Once this is complete and before you launch the Web Application Proxy Wizard, we need to get the ADFS certificate loaded onto this box.
Go to another ADFS node that has the certificate and export the certificate. This certificate should be in the Personal\Certificates area of the Local Machine.
Export the certificate
Import the Certificate on the server you are currently working on into the Personal\Certificates Certificate Store of the Local Machine.
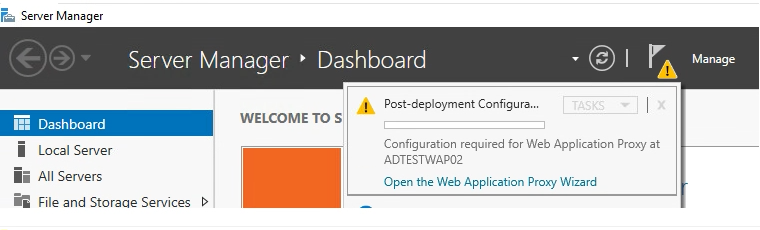
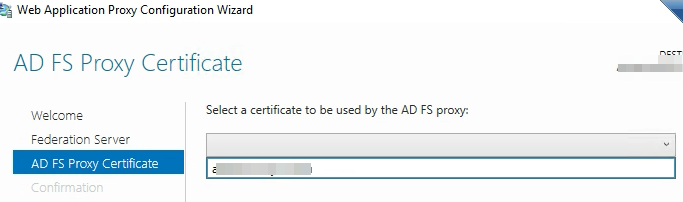
Now you are ready to Open the Web Application Proxy Wizard”
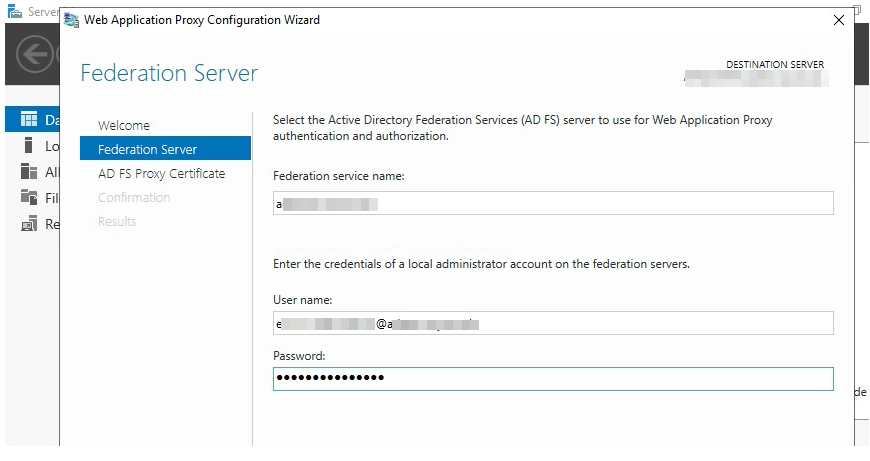
Choose the Certificate we imported it should be in the drop down.
Before you hit “Configure” depending on how your DNS is configured you need to make sure the WAP server can get to your adfs servers using the primary DNS name. For us this involved some HOSTS file magic.
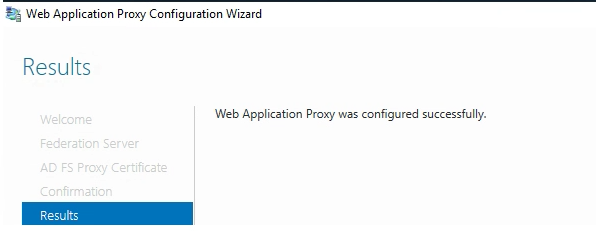
Click “Configure” and you should see the Web Application Proxy Configuration completed successfully.
VERIFY everything is up and working and this new node is servicing requests. You should also see now that Remote Access Manager and the Powershell configuration once again shows two nodes participating.
Repeat this process to take down any other WAPs.
ADFS Server Replacement:
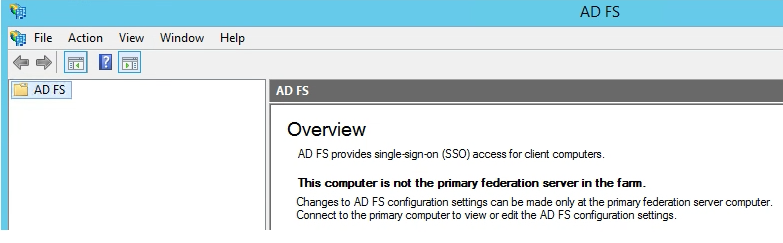
Login to any of the federation servers that are not currently the Primary Node. You will know this by launching the ADFS Management Console.
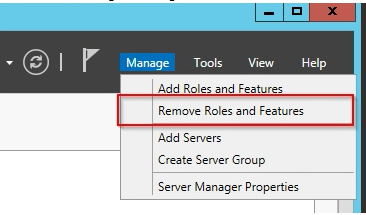
Go to Server Manager, Manage -> Remove Roles & Features
Uncheck Active Directory Federation Services.
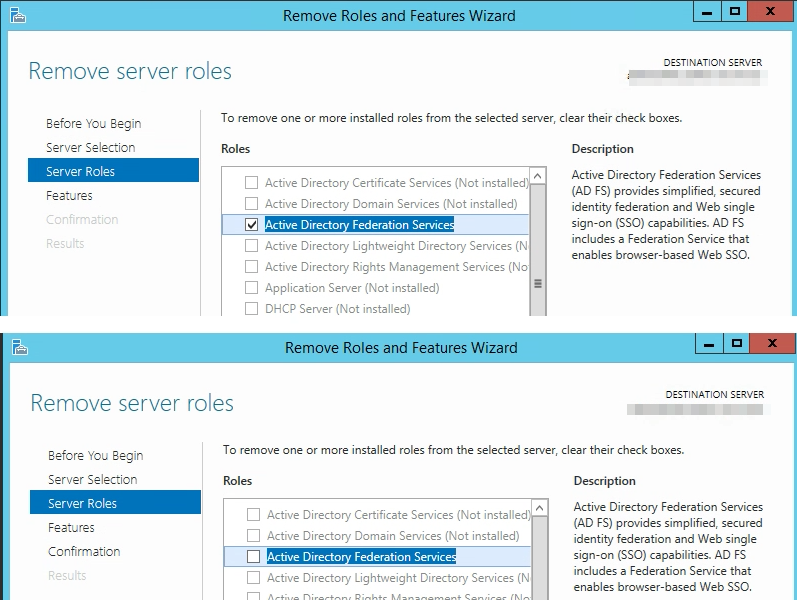
Click Next, Next, Next…… Finish
Reboot to finish the removal process.
Shutdown this box and bring up another box with the same name, IP, configuration. Bind it to the domain and take over the old AD object.
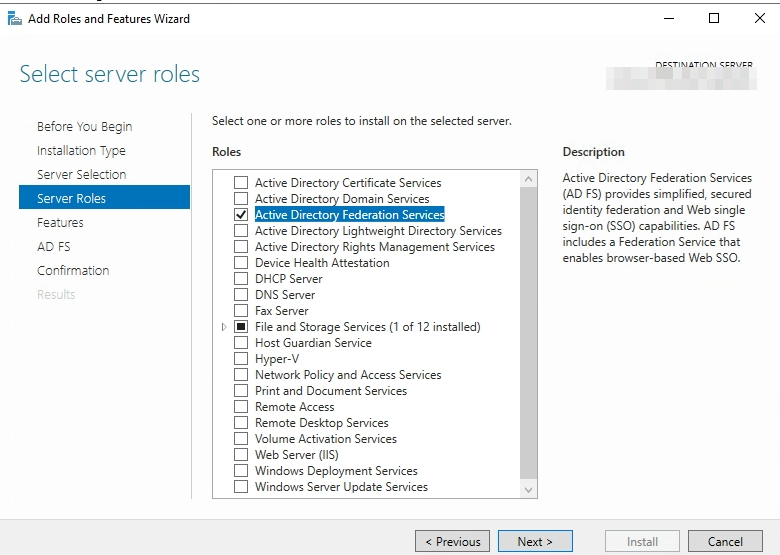
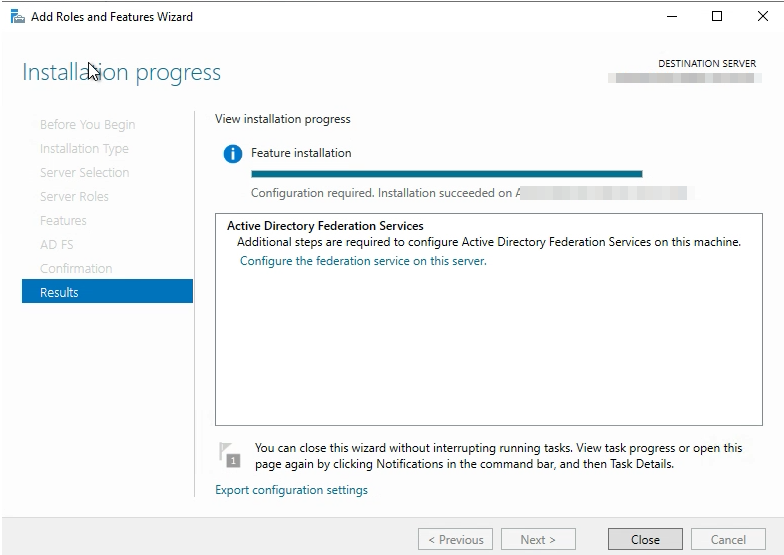
Login as a “Domain Admin” and Go to Server Manager, Add Roles & Features
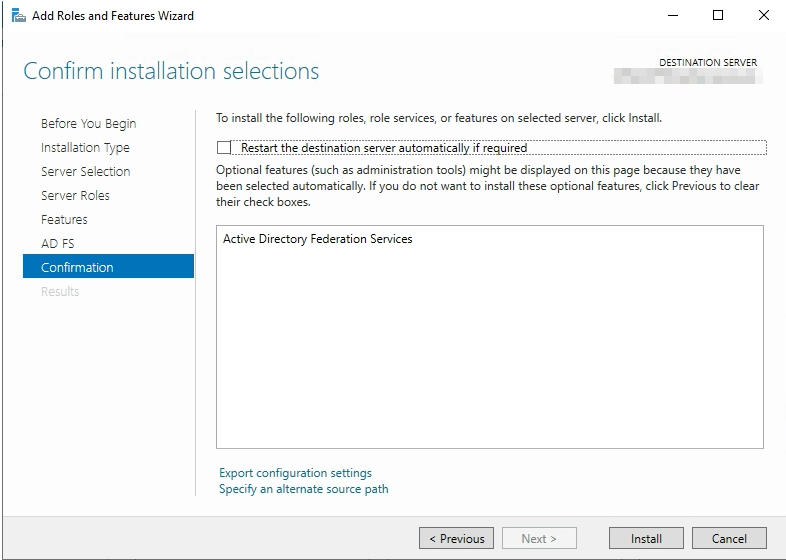
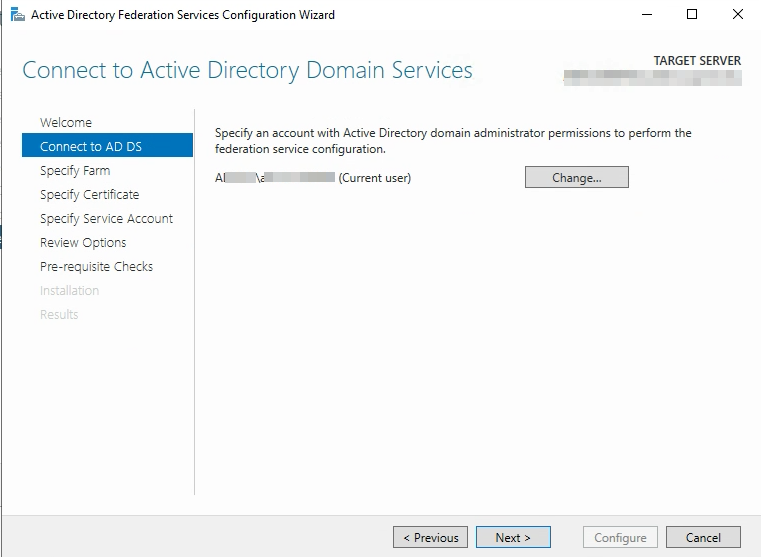
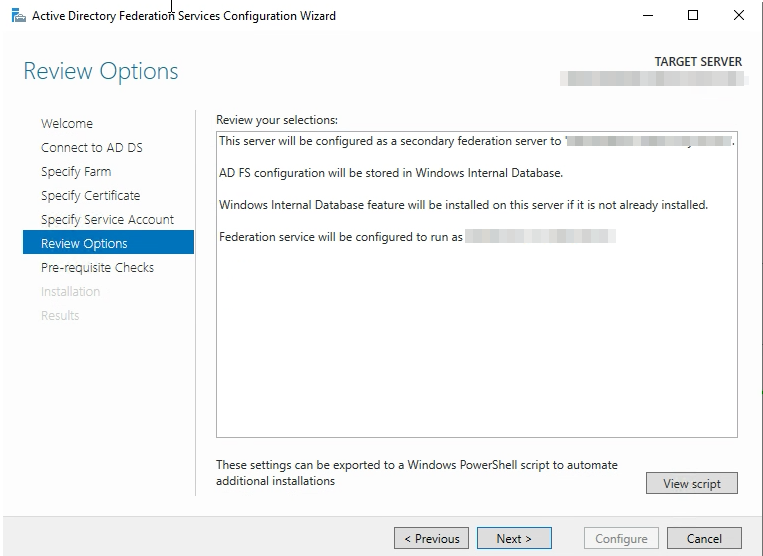
Click “Install” and then configure the federation services on this server.

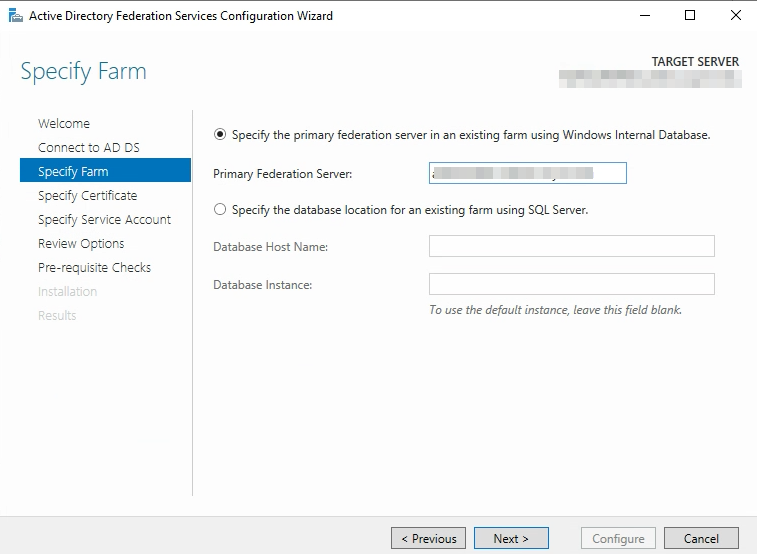
Specify the FQDN of the Primary Node of your Active Directory Federated Services. (Servername.Domain.Suffix)
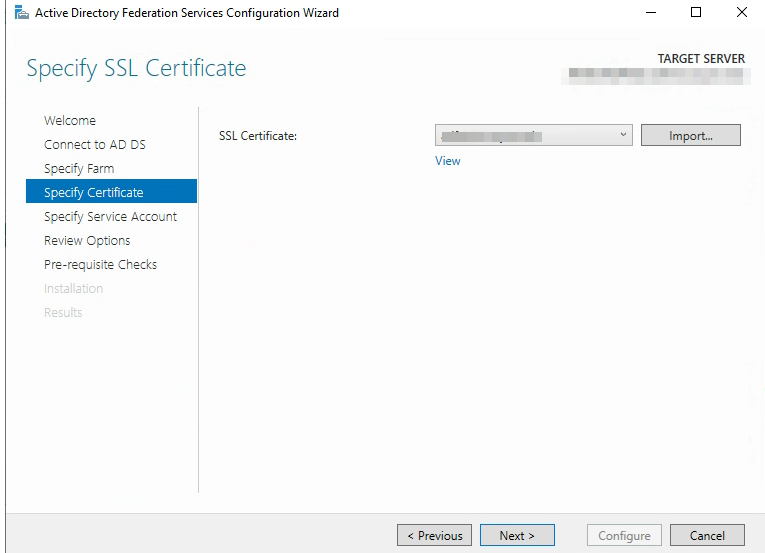
Note** Like we did on the WAP servers make sure the certificate is loaded onto the Local Machine Personal Certificates Store on this box before continuing.
Choose the SSL Certificate you imported
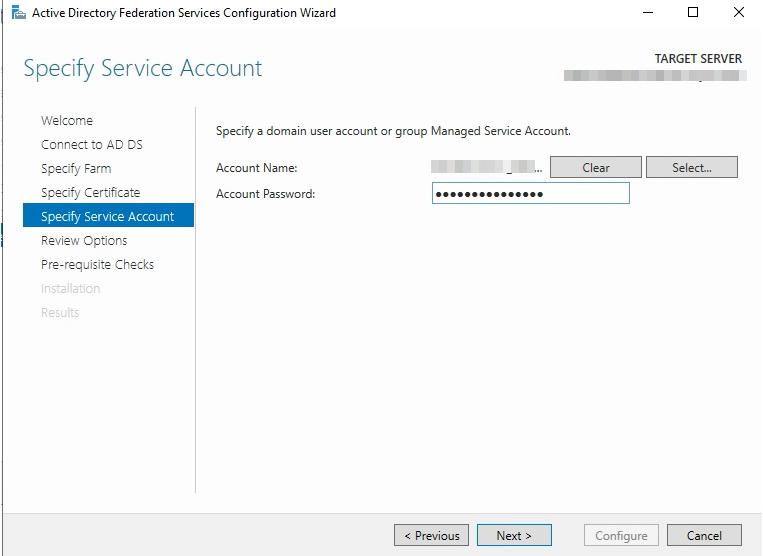
Specify a domain user account or group managed service account. In this particular example this is a domain user account. If you use a domain user account make sure it is a local administrator of the server.
[I’m checking on this local administrator may not be needed anymore].
NOTE** If you are locking down firewall rules, before configuration can run verify that Port 80 can be accessed on the primary node from this server. If you receive DNS errors here it could be Port 80, and not actually DNS.
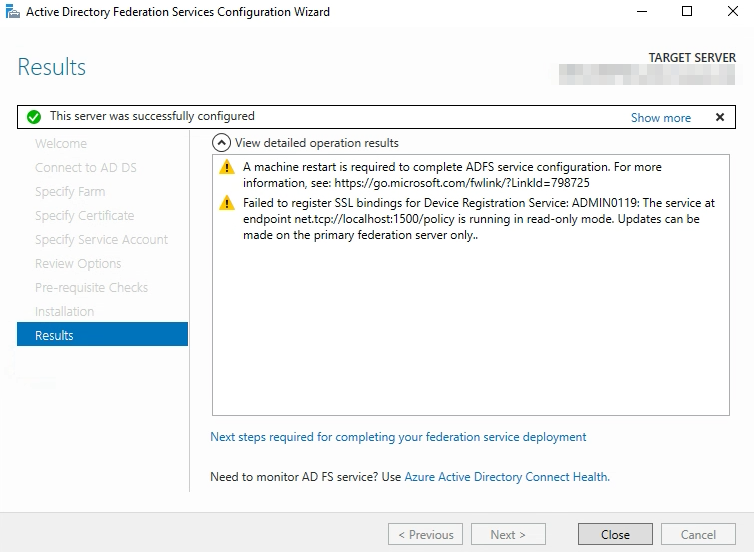
Reboot.
Verify this node is now accepting requests.
Perform these steps on every other ADFS node that is not the primary node. Once complete, continue to migrate Primary Node to a node that was already replaced so primary node can be upgraded.
Migrate Primary Node to a Replaced Node:
Pick a node that has already been replaced that you want to migrate the primary node to. On this node run the following:
Set-AdfsSyncProperties -Role PrimaryComputer
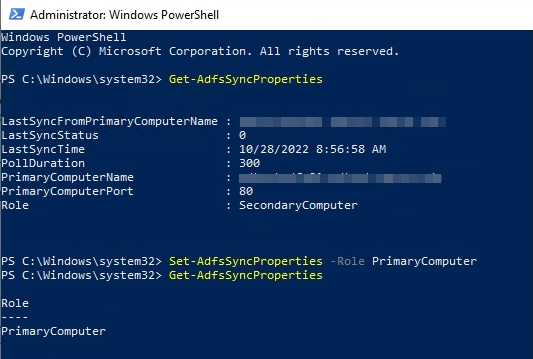
If you perform a Get-AdfsSyncProperties both before and after you should see the role change.
Now you need to go the original primary node owner and run the following:
Set-AdfsSyncProperties -role SecondaryComputer -PrimaryComputerName newprimary.domain.suffix
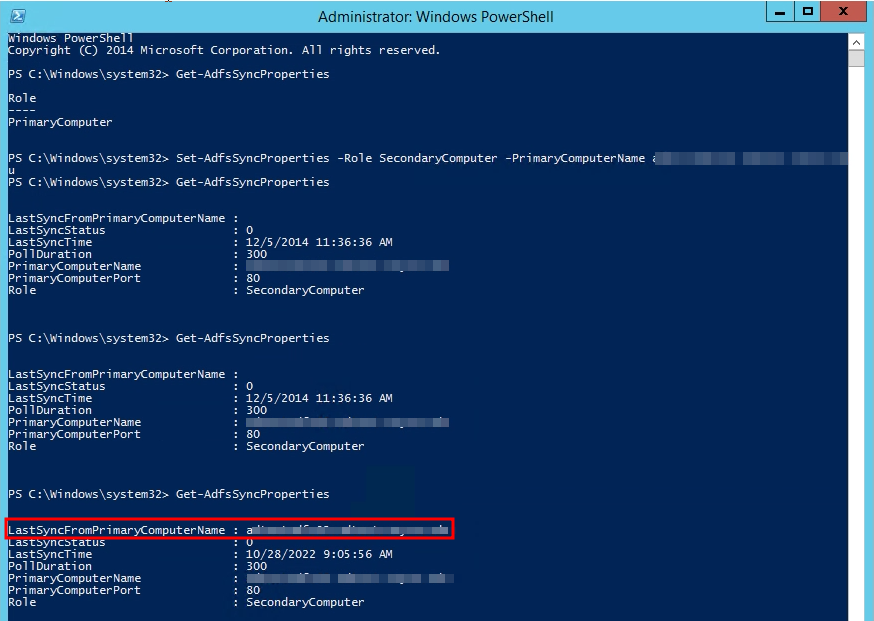
You will want to wait about 5 minutes and make sure when you run Get-AdfsSyncProperties that you are actually seeing a successful last sync come from the new primary node before you take down the original primary node.
You can now repeat the process listed here to replace the original primary node. If you want to migrate the primary node back when you are done you can follow these instructions again.