If you are taking over an Active Directory or just trying to run cleanup on one that you currently manage, one of the tasks you will probably want to perform is to check to see which of the built-in schema ExtensionAttributes are in use.
If you don’t have ExtensionAttributes 1-15 in your On Premises Active Directory you will need to extend your schema for Exchange Server.
The script below has also been added to my github.
We ran into an issue with Macs connecting to our file services while attempting an upgrade on a Microsoft Clustering Services File Services on Server 2012R2.
Current Environment:
Two 2012R2 Servers/Two 2016 Servers, with the following Roles/Features Installed:
ROLES – File and Storage Services:
File Server
DFS Namespaces
DFS Replication
File Server Resource Manager
FEATURES
Failover Clustering
Testing:
Two Virtual Machines running 2012R2, with Microsoft Clustering Services, with multiple File Server Roles. Everything works with the Macs connecting to these Clustered File Services while running 2012R2. The cluster level is also 2012R2.
However, after adding a 2016 Server into this Microsoft Cluster, and failing over one of the file server roles to it, the Macs can no longer connect to that file server. They receive a message stating:
There was a problem connecting to the server “”. Check the server name or IP address, and then try again. If you continue to have problems, contact your system administrator.
If you migrate the file server role back to a server running 2012R2 the Mac can once again connect.
Resolution:
I plan to come back to this blog to post a more detailed writeup. I was passed on a lot of information that I haven’t seen but I will try to best to explain what I believe is happening.
When a 2016 Server is added to a 2012R2 only cluster, the cluster moves into “Mixed Mode” to allow both Operating Systems to function. Now Microsoft states you should not stay in this mode very long, from what I’ve seen thrown around no more than 4 weeks.
This is hearsay from packet captures but when a Mac tries to connect to the File Services running on 2016 Server while in mixed mode it supposedly connects on SMB 3.1.1, but then something in the network stack wants to downgrade the connection to SMB 2.0, and the Macs cannot follow it and therefore cannot connect to the server.
However, after removing the 2012R2 servers, and then upgrading the Cluster Level to 2016, the Macs can then connect again.
I’m still doing some troubleshooting and this post will be updated.
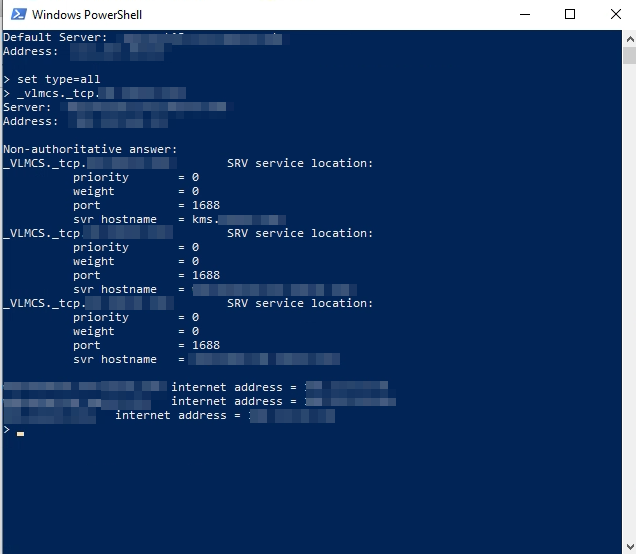
The SRV records for KMS in DNS can be found by launching a command prompt and entering “nslookup”.
Then run: “set type=all” so all records are returned.
Then the record you want to look up is: “_vlmcs._tcp.domain.suffix”
This should return all of the SRV records for KMS services. This is an important area in DNS to watch because if boxes can add themselves to DNS, anyone who installs the Volume License Services could get a record entered here.
In this particular example we have three SRV records.
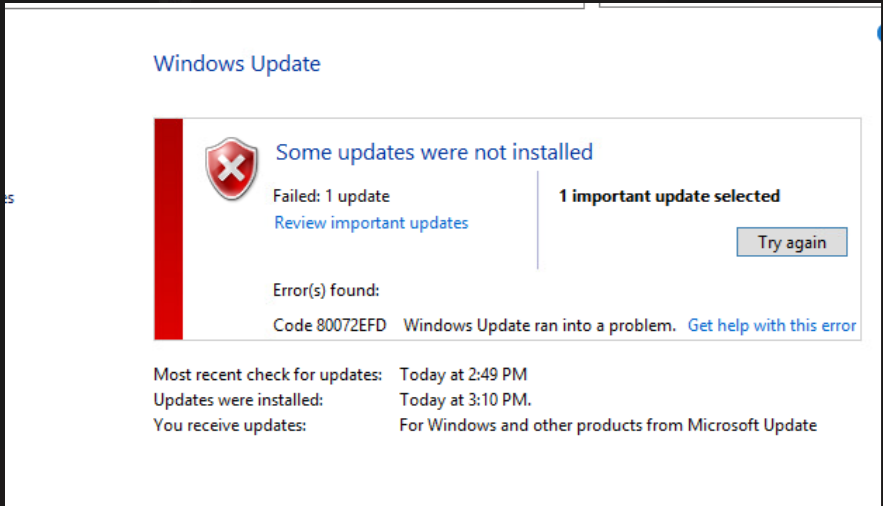
We ran into an issue updating our Domain Controllers from Windows Update. This appears to be profile based at first troubleshooting. A different Domain Administrator could pull down updates without any issue.
Still investigating… but if google directs you here, try another DA account.
This blog is only providing the information needed to replace the WAP/ADFS servers with new servers running 2019. This article is not providing any information on upgrading the farm behavior level.
Always do this in a test environment before affecting Production
WAP Server Replacement: Use whatever mechanisms you have through your load-balancing infrastructure to drain one of the WAP servers so nobody is accessing it.
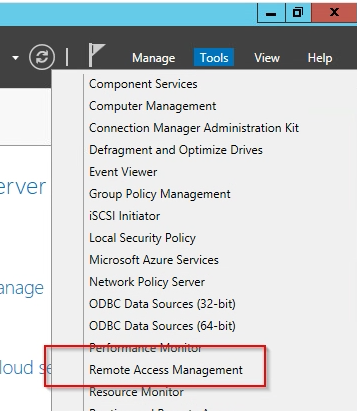
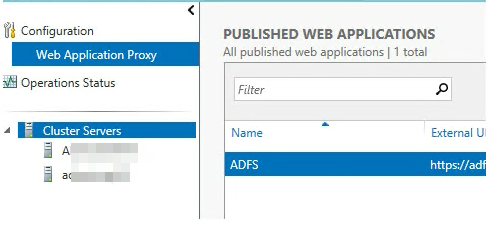
In Server Manager launch “Remote Access Management”
Verify you see the number of Clustered WAPs servers you should here.
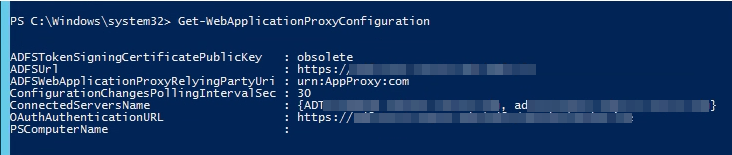
You can also verify this with PowerShell by running the following command in an Administrative Powershell: Get-WebApplicationProxyConfiguration.
Look at the “ConnectedServersName” field, here I have two.
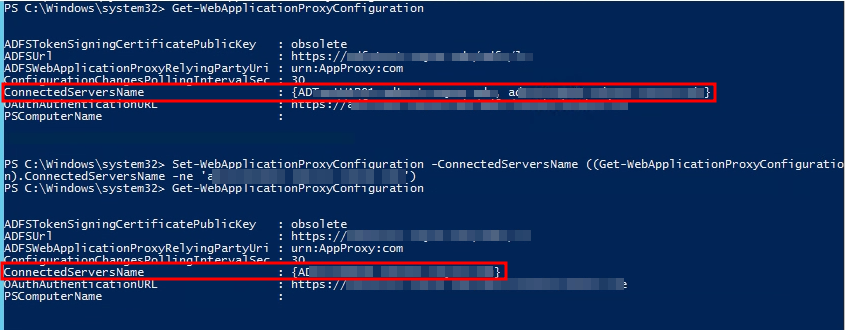
Remove the box that you are currently logged into from the ConnectedServersName property object by running the following PowerShell: Set-WebApplicationProxyConfiguration -ConnectedServersName ((Get-WebApplicationProxyConfiguration).ConnectedServersName -ne ‘servername.domain.suffix’)
[-ne means not equal, you want to put the server you want to remove in place of ‘servername.domain.suffix’]
You can then verify by running Get-WebApplicationProxyConfiguration again and see that the server has disappeared.
I only have two WAPs so at this point both nodes are still servicing requests but only one node is left in the settings. You can now shutdown the node you removed and bring up a new 2019 server with the same name/IP and bind into the already existing AD Object.
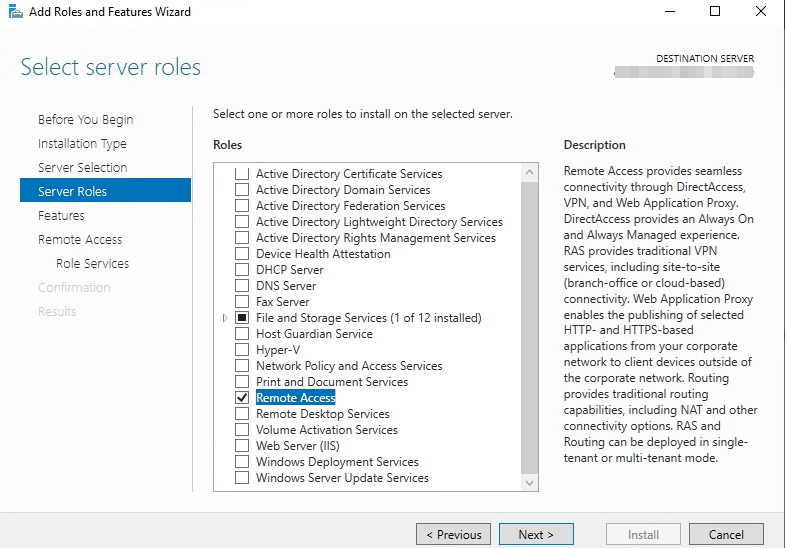
Once this box is up login with a Domain Admin account and Add Roles/Features and add the “Remote Access” Server Role
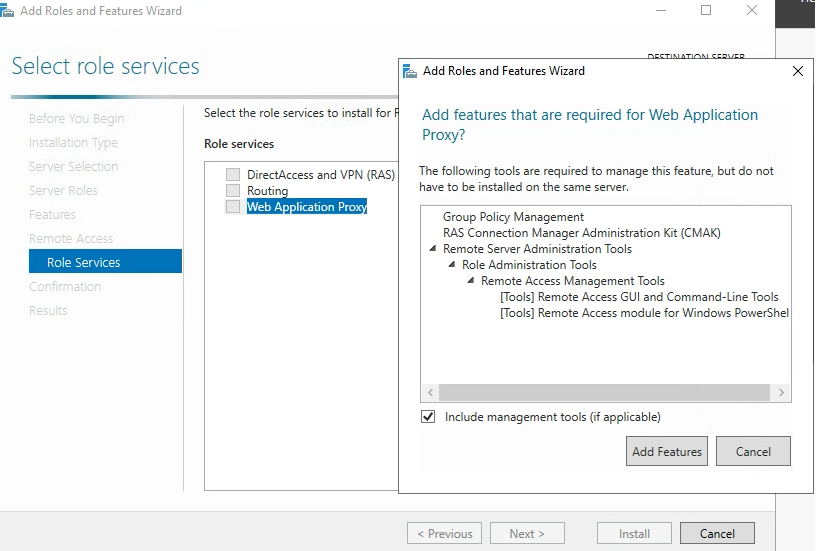
Choose “Web Application Proxy” on the Role Services tab. You may be prompted to accept installing additional features, go ahead and click Add Features.
Once this is complete and before you launch the Web Application Proxy Wizard, we need to get the ADFS certificate loaded onto this box.
Go to another ADFS node that has the certificate and export the certificate. This certificate should be in the Personal\Certificates area of the Local Machine.
Export the certificate
Import the Certificate on the server you are currently working on into the Personal\Certificates Certificate Store of the Local Machine.
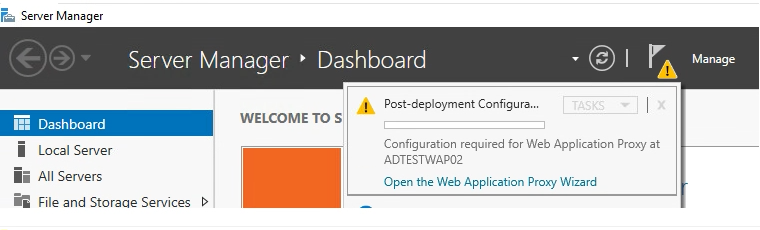
Now you are ready to Open the Web Application Proxy Wizard”
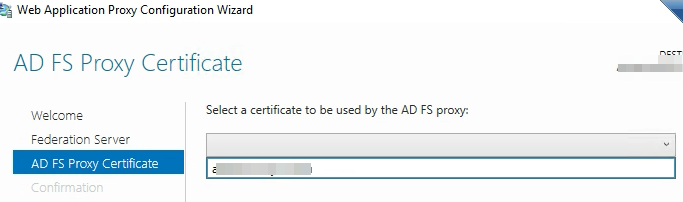
Choose the Certificate we imported it should be in the drop down.
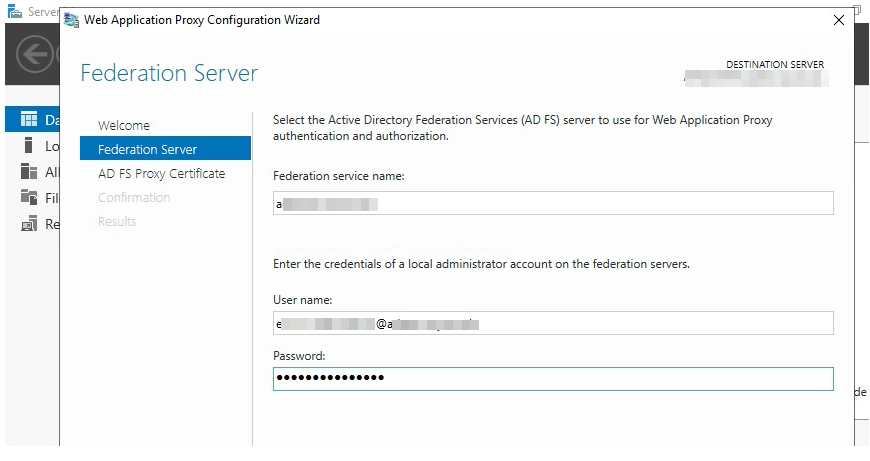
Before you hit “Configure” depending on how your DNS is configured you need to make sure the WAP server can get to your adfs servers using the primary DNS name. For us this involved some HOSTS file magic.
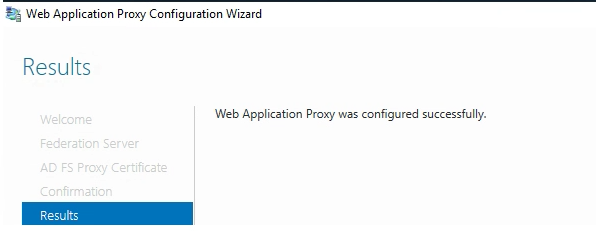
Click “Configure” and you should see the Web Application Proxy Configuration completed successfully.
VERIFY everything is up and working and this new node is servicing requests. You should also see now that Remote Access Manager and the Powershell configuration once again shows two nodes participating.
Repeat this process to take down any other WAPs.
ADFS Server Replacement:
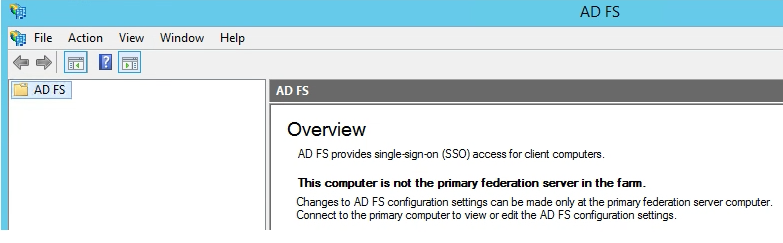
Login to any of the federation servers that are not currently the Primary Node. You will know this by launching the ADFS Management Console.
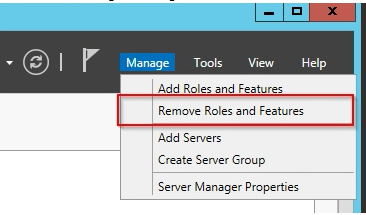
Go to Server Manager, Manage -> Remove Roles & Features
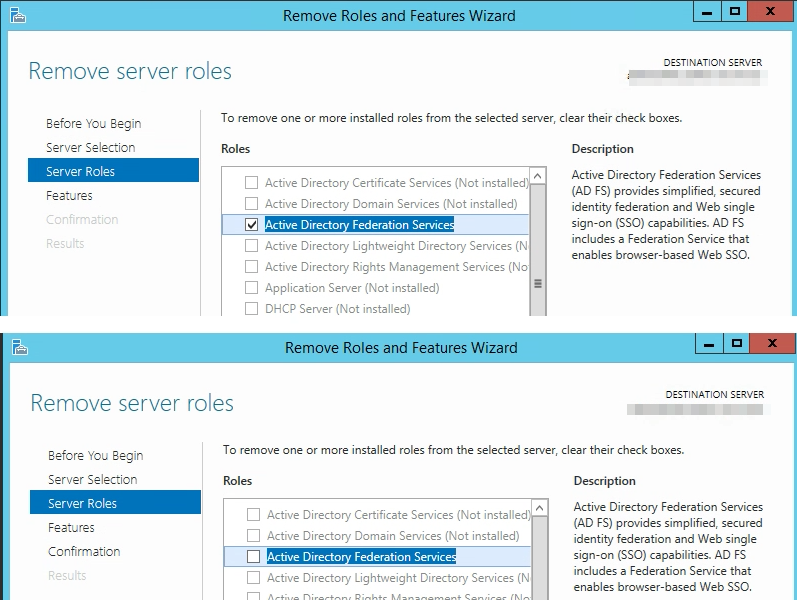
Uncheck Active Directory Federation Services.
Click Next, Next, Next…… Finish
Reboot to finish the removal process.
Shutdown this box and bring up another box with the same name, IP, configuration. Bind it to the domain and take over the old AD object.
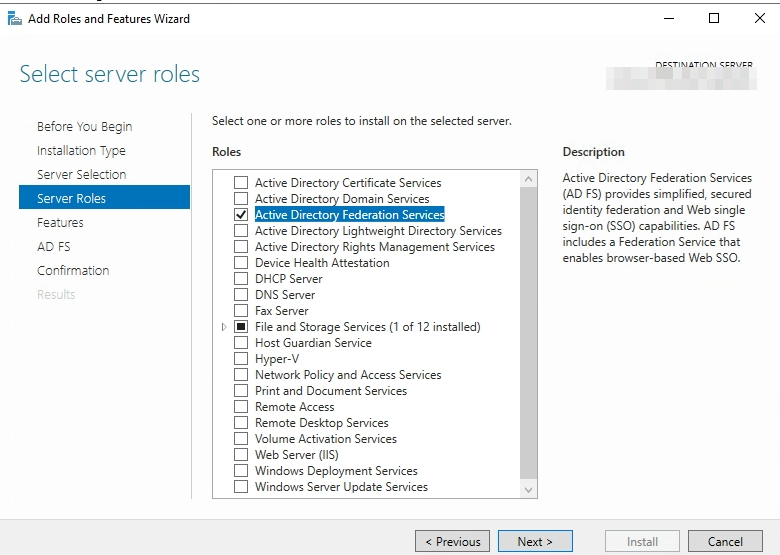
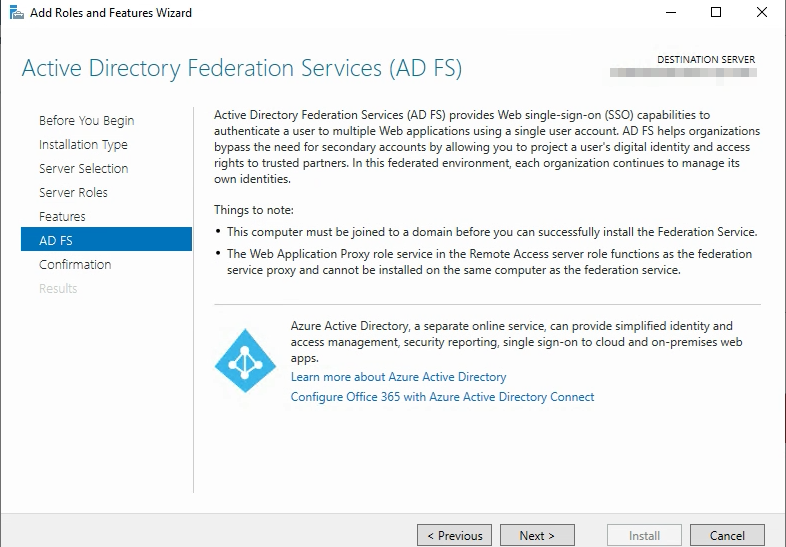
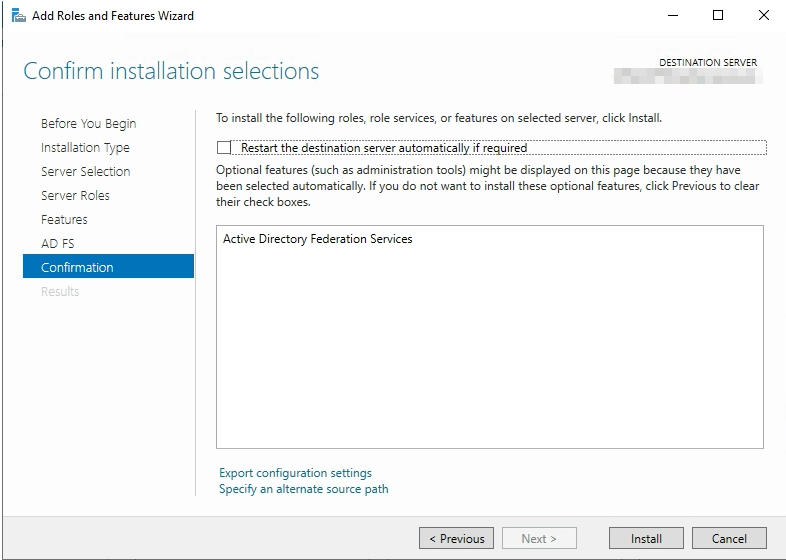
Login as a “Domain Admin” and Go to Server Manager, Add Roles & Features
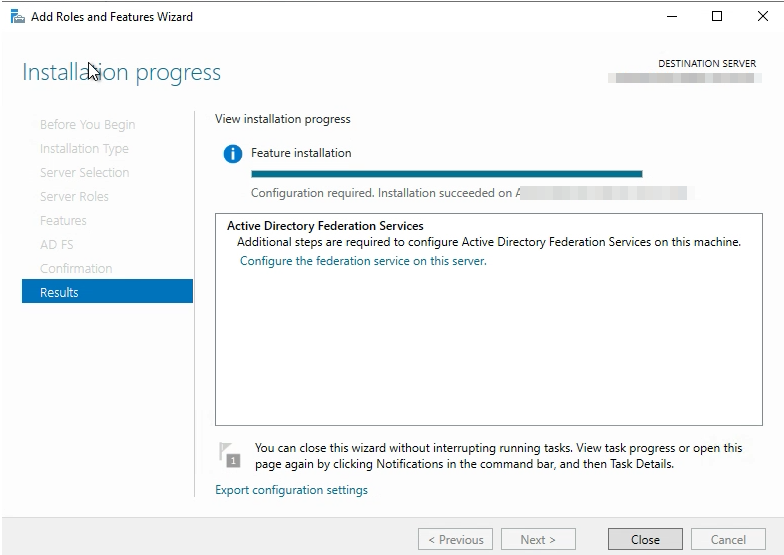
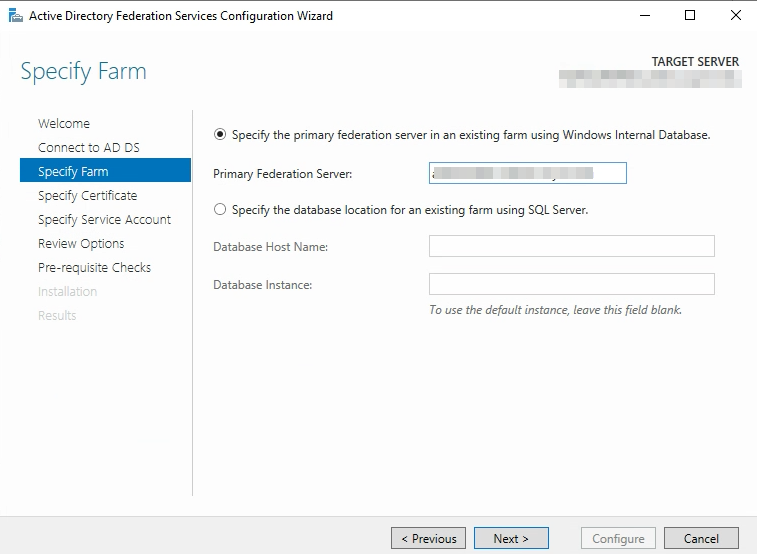
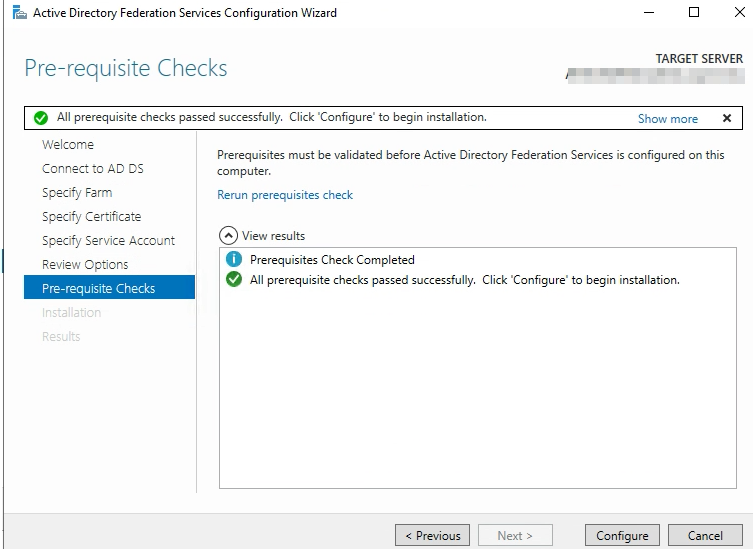
Click “Install” and then configure the federation services on this server.
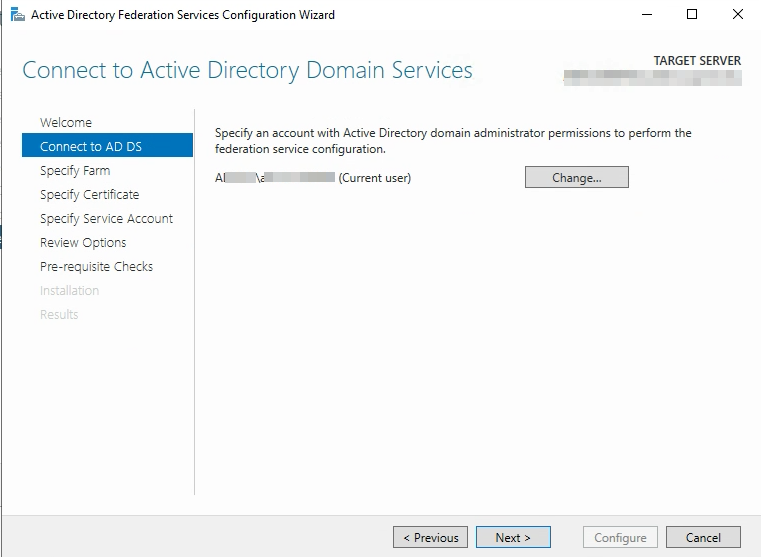
Specify the FQDN of the Primary Node of your Active Directory Federated Services. (Servername.Domain.Suffix)
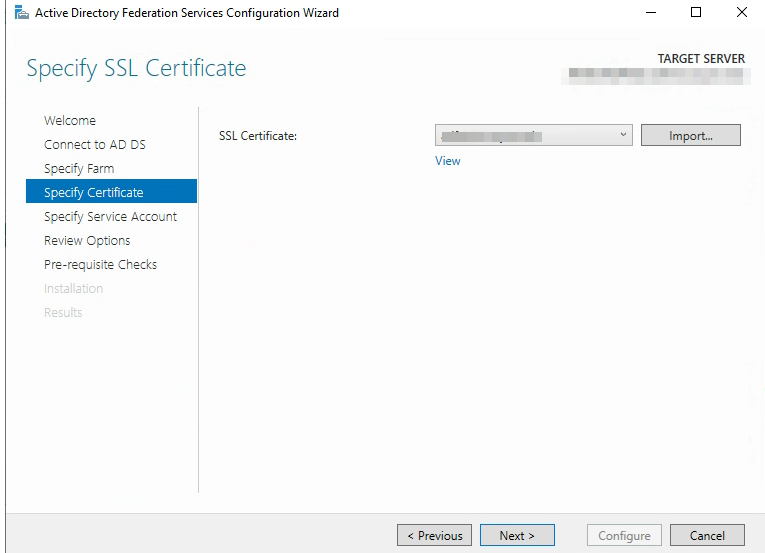
Note** Like we did on the WAP servers make sure the certificate is loaded onto the Local Machine Personal Certificates Store on this box before continuing.
Choose the SSL Certificate you imported
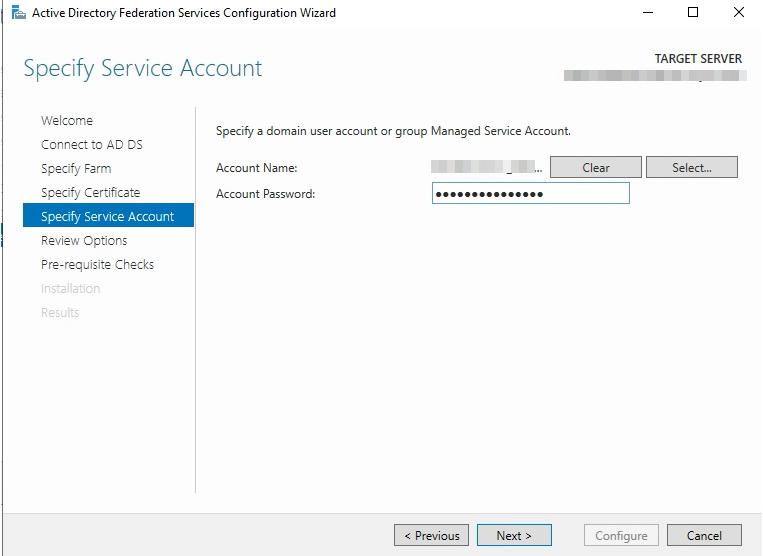
Specify a domain user account or group managed service account. In this particular example this is a domain user account. If you use a domain user account make sure it is a local administrator of the server.
[I’m checking on this local administrator may not be needed anymore].
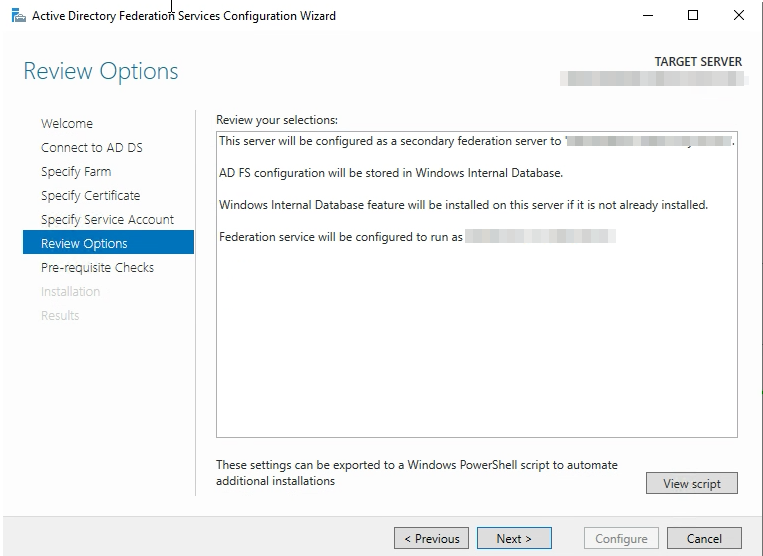
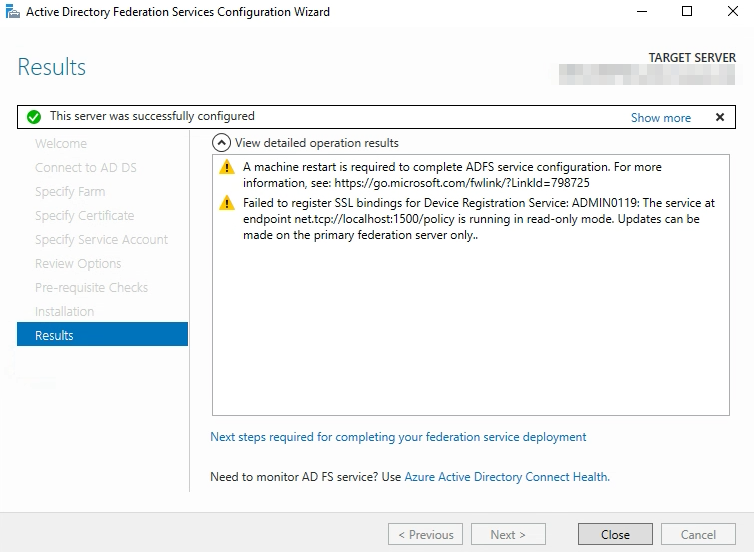
NOTE** If you are locking down firewall rules, before configuration can run verify that Port 80 can be accessed on the primary node from this server.If you receive DNS errors here it could be Port 80, and not actually DNS.
Reboot.
Verify this node is now accepting requests.
Perform these steps on every other ADFS node that is not the primary node. Once complete, continue to migrate Primary Node to a node that was already replaced so primary node can be upgraded.
Migrate Primary Node to a Replaced Node:
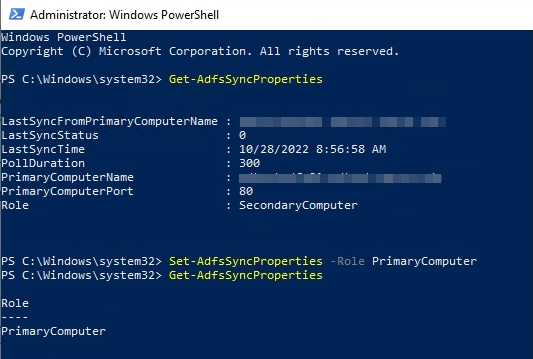
Pick a node that has already been replaced that you want to migrate the primary node to. On this node run the following:
Set-AdfsSyncProperties -Role PrimaryComputer
If you perform a Get-AdfsSyncProperties both before and after you should see the role change.
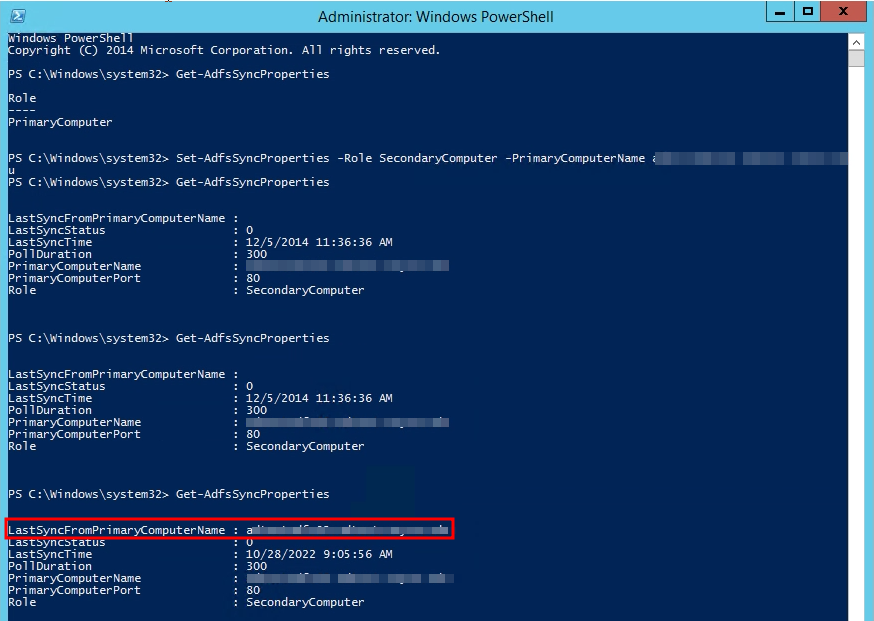
Now you need to go the original primary node owner and run the following:
You will want to wait about 5 minutes and make sure when you run Get-AdfsSyncProperties that you are actually seeing a successful last sync come from the new primary node before you take down the original primary node.
You can now repeat the process listed here to replace the original primary node. If you want to migrate the primary node back when you are done you can follow these instructions again.
There are many security risks with running Active Directory. In the Year 2022, one of these is still running your Active Directory with unsigned/simple ldap binds.
If you don’t already have a PKI environment setup you should probably work to set one up so you can get certificates on your Domain Controllers that are trusted by your businesses devices so unsigned/simple binds can be retired.
A script I’ve found very helpful for monitoring the Domain Controller firewall logs for these events is located here:
As I’m migrating Domain Controllers over to Server Core one of the major issues I’ve run into is managing the Windows Firewall Rules. On a GUI version of Windows Server it is very easy to see what firewall rules are applied, in core… not so much, especially if you are pushing them with GPO (Group Policy).
All of the PowerShell cmdlets and netsh advfirewall commands all seem to return the local firewall rules and not any of the Group Policy pushed firewall rules. Moreover I could not find an easy way to see what the current firewall rules are that are applied via GPO.
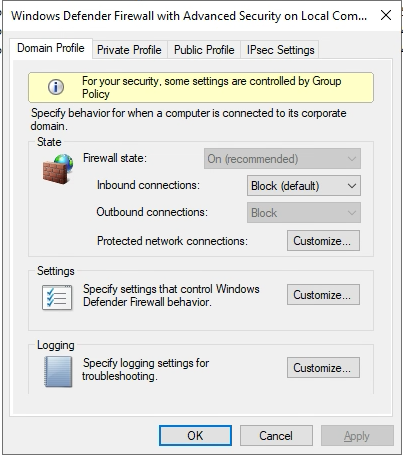
As I have disabled all of the built-in firewall rules as to lock down the Domain Controller Firewall Rules as tightly as possible, even with RPC open and the dynamic RPC range locked to specific ports but open the Windows Firewall MMC would not open. I was seeing no blocked traffic in the Windows Firewall Logs.
I received the following error message:
“There was an error opening the Windows Firewall with Advanced Security snap-in”
“The specified computer could not be remotely managed. Ensure that you are not trying to connect to a remote computer with an earlier version of Windows…..”
My solution to this problem was to enable the built-in Firewall Rules for Remote Firewall Management so you can use MMC console:
Windows Firewall Remote Management (RPC) Windows Firewall Remote Management (RPC-EPMAP)
These firewall rules seem to have some special magic to them that I haven’t put my finger on yet that allow the Remote MMC Firewall snap-in to work. You can of course lock these rules down to remote IPs as well.
Did you apply a Windows Firewall Policy that blocks the ability to talk to Active Directory and get Group Policies? We all make mistakes….
¯\_(ツ)_/¯
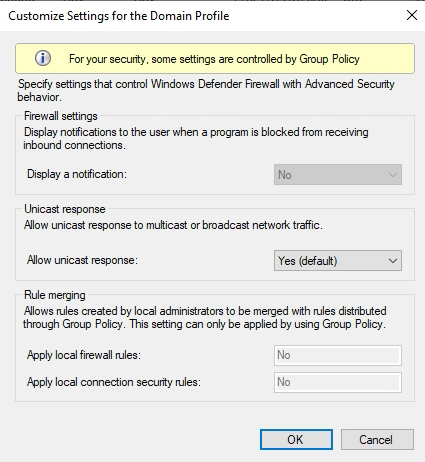
You can no longer login to this box with Active Directory Credentials….. You try to login as a local administrator and see that everything is grayed out?
On top of that you also turned off the ability to apply local firewall rules?
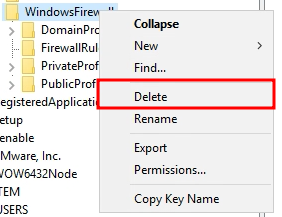
Don’t fear! There is a way to fix this as long as you have Local Admin rights on the box. Open up the Registry Editor and navigate to: HKEY_LOCAL_MACHINE\SOFTWARE\Policies\Microsoft\WindowsFirewall
Right-Click the WindowsFirewall key and delete it and all sub-keys and reboot.
This should fix the issue and you will pull down the corrected Group Policy on reboot.
First, don’t go running down the street with your hands in the air as Mandiant has not uncovered any vulnerabilities that were exploited to gain access to ESXi. Threat actors would still need the proper rights (root) on ESXi to install backdoor VIBs. However, since many people use central authentication systems like Active Directory though, it may be easier for threat actors to pivot into your environment if Active Directory is compromised.
The CISA link above provides all of VMware’s important links to make sure you are secured as possible. I’d highly recommend reading through all of the material here that VMware has put out.
The best thing you can do is setup Defense in Depth.